How to create a knowledge base article
- Go to settings | Knowledge base | Articles

- Click on the blue plus icon to create a new article

- Give the article a meaningful title

- Select the category for the article

- Select the status for the article
5.1 Draft = A preliminary version of the article
5.2 Published = Formally announced article

- Select the visibility for the article
6.1 All users = Everyone is able to view the article
6.2 Only Agents = Only accounts that are agents will be able to view the article
6.3 Selected user groups = Only the groups selected will be able to view the article

-
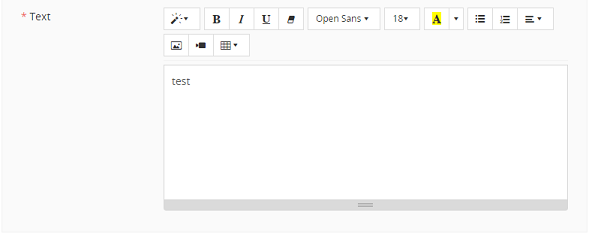
- Enter the text for the knowledge base article you wish to write. You have the ability to add pictures, videos, tables and embedded URL's to the article.
 Note: You can copy and paste the contents of a Word Document into the knowledge base with no issues, and it should also maintain its formatting. However, any images will not be copied over at the same time. This is a limitation of browsers, rather than the product itself. The images can be copied and pasted in separately after the text has been entered. Any text that is formatted as a URL will be converted to a link when you save the article. If you then want to change the text of the link while maintaining where it links to, you can edit the article again and click on the link and select "edit text" from the given options.
- Enter the text for the knowledge base article you wish to write. You have the ability to add pictures, videos, tables and embedded URL's to the article.
How to write a Knowledge base article video tutorial
![]()