How to setup a new Service Catalog
- Go to settings | Incident Management | Service Catalog

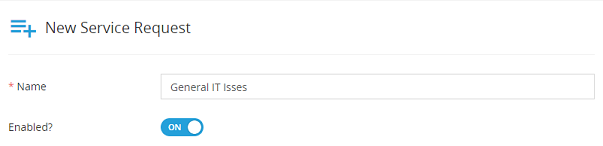
- Select the blue plus icon to create a new service request

- Give the service request a meaningful name
- Toggle enabled to ON to display the new service request
- Select the category to assoicate the service request to
- Select an image you would like to use for the service request icon
Note: Valid files are images less than 1 megabyte in size and has an equal height and width. We also recommend the image to be in a PNG format.

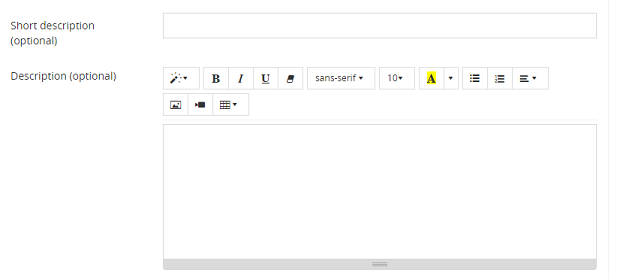
- Fill out a short discription of the service request (optional)
- Fill out a description of the service request (optional)
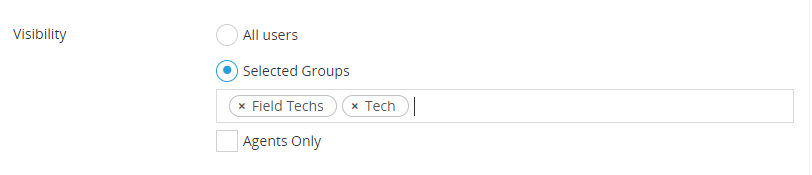
- Select the visibility for the ticket
9.1 All users = Everyone would be able to see the service request
9.2 Selected groups = Only the groups you select will be able to view the service request
9.3 Agents only = Only agents will be able to view the service request. End users will not be able to view the service request
- Select the service request approval requirement
10.1 No approval required = The service request does not require approval
10.2 Requires approval from requesters manager = Requesters manager will have to approve the service request
10.3 Requires approval from these approval boards = You can select the approval board you want to be able to approve the service request

- Select if you want auto-assign tickets created from this service request to use a ticket category. Select the category from the dropdown you want assigned.

- Select the type of ticket you wanted created from this service request in the dropdown. Leaving this option blank will keep the request a service request.

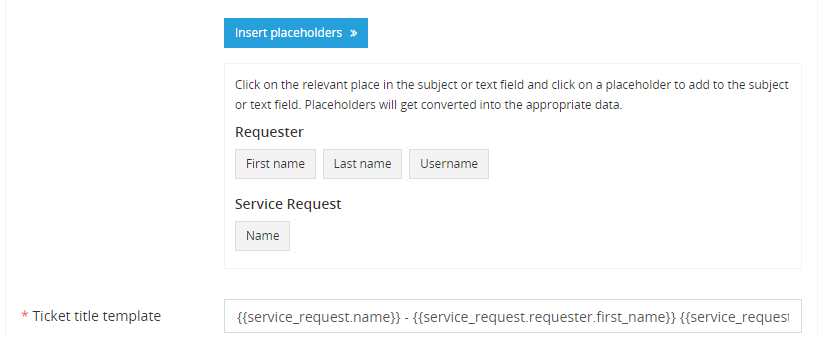
- Insert the placeholder that you want to be displayed in the ticket title template
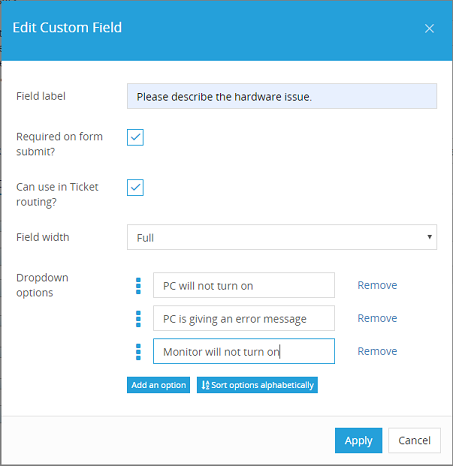
- Select any custom fields that you want from the left side of the screen to add to our template. You are able to drag and drop the custom fields
14.1 Give the field a label
14.2 Select if the field is required on the form to submit
14.3 Select if the field is used in routing
14.4 Select the field width
14.5 Fill out the custom fields
14.6 Click Apply
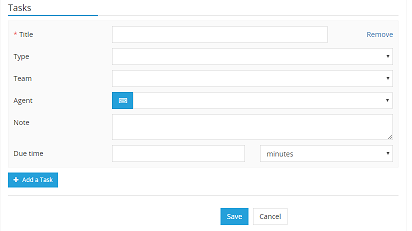
- Click add task if you would like to add a task to the service request
15.1 Give the task a meaningful name
15.2 Select the type of task that you want to be applied (optional)
15.3 Select the team that is assigned to the task (optional)
15.4 Select the agent assigned to the task (optional)
15.5 Add any notes to the task (optional)
15.6 Set a due date for the task (optional)